Beginner’s Guide to Setting Up a Home Recording Studio

Creating a home recording studio is an exciting endeavour for any music enthusiast, whether you’re an aspiring musician, a podcaster, or an audio engineer. With advancements in technology, setting up a professional-quality studio in the comfort of your own home is more accessible than ever. This guide will provide step-by-step instructions on the essential equipment needed, setup tips, and software recommendations to help you build a home recording studio that meets your needs and budget.
1. Understanding Your Needs and Budget
Before diving into the specifics of equipment and setup, it’s crucial to define your goals and budget. Consider the following questions:
- What type of recordings will you be making? (e.g., vocals, instruments, podcasts)
- What is your budget? Setting a budget helps prioritize essential equipment and avoid unnecessary expenses.
- What is the available space for your studio? Understanding your space constraints will guide your equipment choices and layout.
2. Essential Equipment
a. Computer
A reliable computer is the cornerstone of a home recording studio. Whether you choose a desktop or a laptop, ensure it has sufficient processing power, memory, and storage to handle audio recording and editing software.
- Processor: Look for a multi-core processor (Intel i5 or higher, AMD Ryzen series).
- RAM: Aim for at least 8GB of RAM, though 16GB or more is preferable for larger projects.
- Storage: A solid-state drive (SSD) is recommended for faster performance. Consider at least 500GB, with additional external storage for backups.
b. Digital Audio Workstation (DAW)
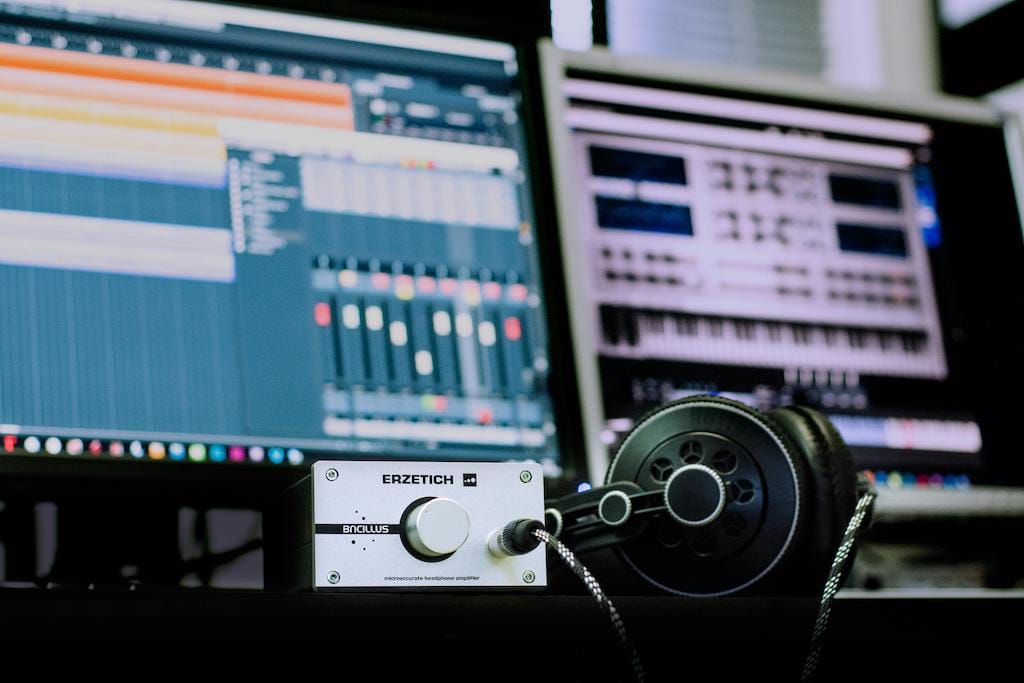
A DAW is software that allows you to record, edit, and produce audio. There are various options available, each with its strengths and weaknesses. Popular DAWs include:
- Pro Tools: Widely used in professional studios, offering powerful editing tools and robust features.
- Ableton Live: Ideal for electronic music production and live performances.
- Logic Pro X: A favorite among Mac users, known for its intuitive interface and comprehensive plugin library.
- FL Studio: Great for beginners and electronic music producers with an easy-to-learn interface.
- Reaper: Affordable and highly customizable, suitable for all types of recording and mixing.
c. Audio Interface
An audio interface acts as the bridge between your computer and other audio equipment, such as microphones and instruments. Key features to look for include:
- Number of Inputs/Outputs: Consider how many instruments or microphones you need to record simultaneously.
- Phantom Power: Essential for powering condenser microphones.
- Sample Rate and Bit Depth: Higher sample rates and bit depths provide better audio quality. Aim for at least 24-bit/96kHz.
Popular models include:
- Focusrite Scarlett 2i2: A versatile and budget-friendly option with two inputs and outputs.
- PreSonus AudioBox USB 96: Compact and affordable, suitable for beginners.
- Universal Audio Apollo Twin: High-quality preamps and DSP processing for professional results.
d. Microphones
Microphone choice depends on what you’re recording. Common types include:
- Dynamic Microphones: Durable and versatile, ideal for vocals and instruments (e.g., Shure SM58, Sennheiser e835).
- Condenser Microphones: More sensitive and detailed, suitable for studio vocals and acoustic instruments (e.g., Audio-Technica AT2020, Rode NT1-A).
- Ribbon Microphones: Excellent for capturing warmth and detail, often used for vocals and acoustic instruments (e.g., Royer R-121).
e. Headphones and Studio Monitors
Accurate monitoring is crucial for mixing and mastering. Invest in high-quality headphones and studio monitors:
- Headphones: Look for closed-back headphones for tracking and open-back headphones for mixing (e.g., Audio-Technica ATH-M50x, Sennheiser HD650).
- Studio Monitors: Ensure flat frequency response for accurate sound reproduction (e.g., KRK Rokit 5, Yamaha HS8).
f. Cables and Accessories
Don’t overlook the importance of quality cables and accessories:
- XLR Cables: For connecting microphones to your audio interface.
- Instrument Cables: For connecting guitars, keyboards, and other instruments.
- Pop Filter: Reduces plosive sounds when recording vocals.
- Microphone Stand: Provides stability and positioning for your microphone.
- Acoustic Treatment: Foam panels, bass traps, and diffusers help reduce unwanted reflections and improve sound quality.
3. Setting Up Your Home Recording Studio
a. Choosing the Right Space
Selecting the right space for your studio is critical. Ideally, choose a quiet room with minimal external noise and good acoustics. Consider the following tips:
- Avoid Small, Boxy Rooms: These can cause unwanted reflections and standing waves.
- Soundproofing: Use heavy curtains, carpets, and weather stripping to reduce noise from outside.
- Acoustic Treatment: Place foam panels and bass traps to absorb reflections and improve sound clarity.
b. Positioning Your Equipment
Proper positioning of your equipment ensures optimal sound quality and workflow efficiency:
- Computer and Audio Interface: Place these on a sturdy desk within easy reach.
- Monitors: Position your studio monitors at ear level and form an equilateral triangle with your listening position.
- Microphone: Use a stand to position the microphone at the appropriate height and angle for your recordings.
- Cables: Keep cables organized and avoid running them parallel to power cords to reduce interference.
c. Connecting Your Gear
Follow these steps to connect your equipment:
- Connect the audio interface to your computer via USB, Thunderbolt, or FireWire.
- Connect microphones and instruments to the audio interface using XLR or instrument cables.
- Connect studio monitors or headphones to the audio interface for monitoring.
- Install and configure your DAW software on your computer, ensuring the audio interface is selected as the input/output device.
4. Software Recommendations
In addition to your DAW, consider the following software tools to enhance your recording and production capabilities:
a. Plugins and Virtual Instruments
Plugins and virtual instruments expand your sonic palette and add professional-quality effects and sounds:
- Waves Plugins: Renowned for their high-quality effects and processing tools.
- Native Instruments Komplete: A comprehensive collection of virtual instruments and effects.
- FabFilter: Known for its intuitive interfaces and powerful sound-shaping capabilities.
- iZotope Ozone: Essential for mastering, offering a suite of tools for finalizing your mix.
b. Sample Libraries
High-quality sample libraries can add depth and realism to your recordings:
- Splice: A subscription-based service offering a vast library of samples and loops.
- EastWest ComposerCloud: Provides access to an extensive collection of orchestral and cinematic samples.
- Loopmasters: A wide range of genre-specific sample packs for various styles of music.
c. Utility Software
Enhance your workflow with utility software:
- Melodyne: Advanced pitch correction and audio manipulation tool.
- Vocalign: Aligns multiple vocal takes for tight, polished harmonies.
- Soundtoys: Creative effects plugins for unique sound design.
5. Recording and Production Tips
a. Recording Techniques
Follow these tips for high-quality recordings:
- Gain Staging: Set proper input levels to avoid clipping while maintaining a strong signal.
- Mic Placement: Experiment with microphone placement to capture the best sound for vocals and instruments.
- Room Ambience: Use acoustic treatment to minimize unwanted room reflections.
b. Editing and Mixing
Enhance your recordings with these editing and mixing tips:
- EQ and Compression: Use EQ to balance frequencies and compression to control dynamics.
- Reverb and Delay: Add depth and space to your mix with reverb and delay effects.
- Automation: Automate volume, panning, and effects to create dynamic, evolving mixes.
c. Mastering
Mastering is the final step in the production process, ensuring your mix sounds polished and cohesive across all playback systems:
- Reference Tracks: Compare your mix to professionally mastered tracks to ensure quality.
- Mastering Plugins: Use tools like iZotope Ozone or Waves L2 to add final polish to your mix.
- Final Listening: Test your mastered track on various playback systems, including headphones, car speakers, and home stereo systems.
Conclusion
Setting up a home recording studio is a rewarding journey that allows you to unleash your creativity and produce professional-quality recordings. By carefully selecting your equipment, optimizing your recording environment, and honing your recording and production skills, you can create music and audio content that stands out. Remember, the key to success is continual learning and experimentation. Happy recording!


